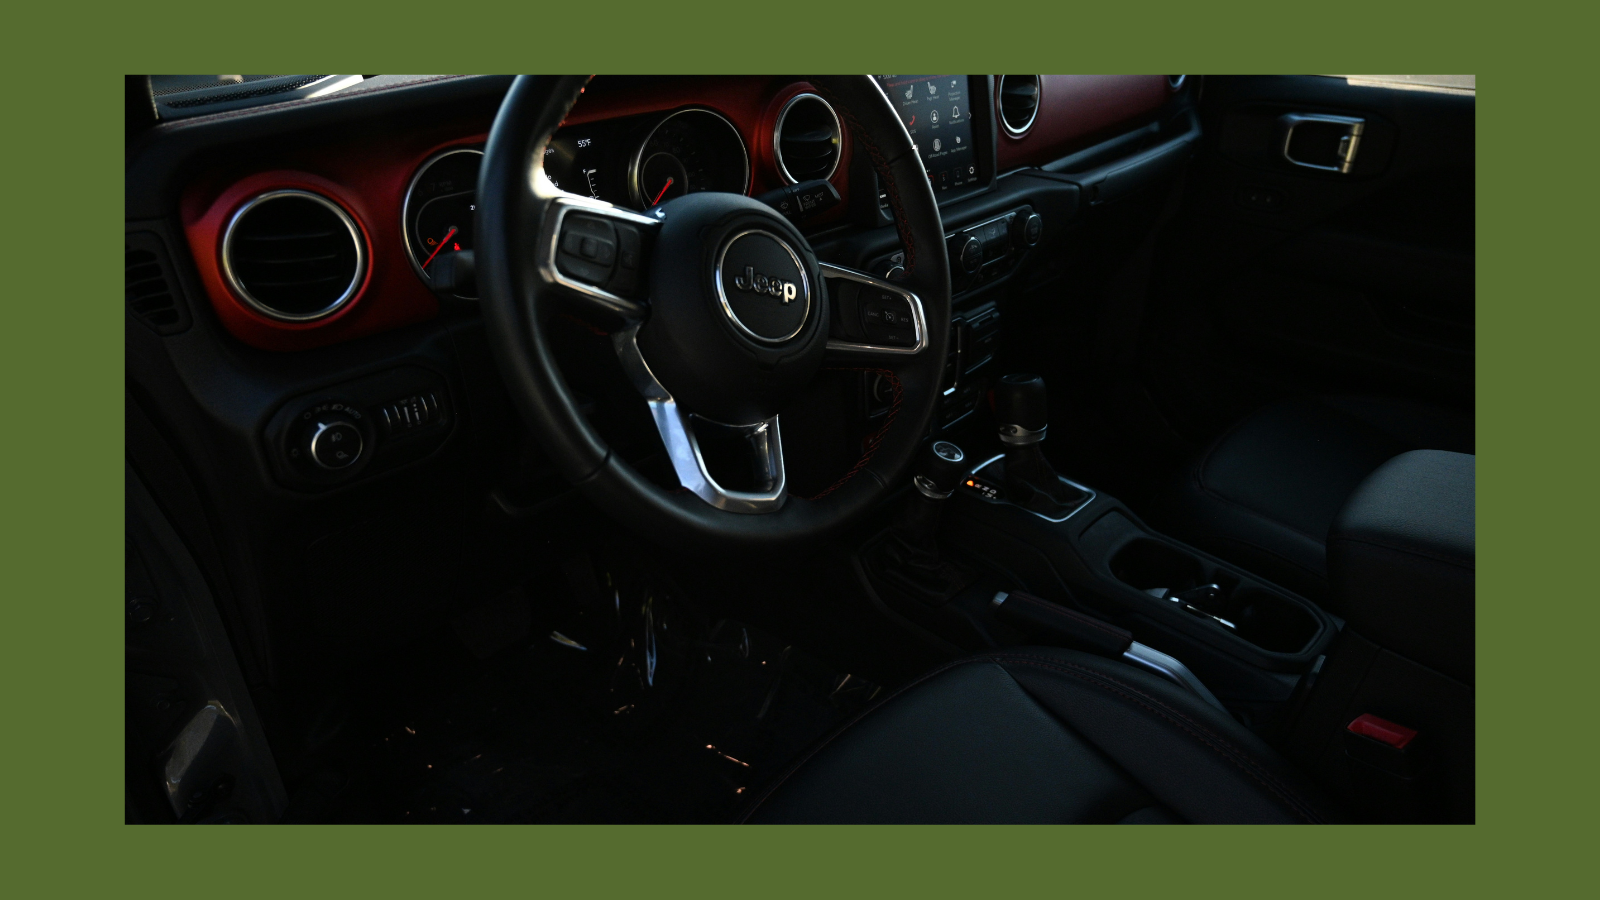
Six phases, one complete build, sequenced right, know before you order.
Jeep Wrangler owners typically buy interior upgrades one product at a time: a floor liner here, a seat cover there, no sense of budget or order.
The $900 Fast Start covers five daily-use essentials in the right sequence. But this $2,000 Transformation Blueprint is the next tier: a complete Jeep Wrangler interior upgrades guide built for a genuinely complete interior transformation, phase by phase.
This Jeep Wrangler interior transformation breaks the Jeep JL interior ecosystem plan into six phases, priced out completely and landing under that ceiling regardless of door count or trim.
Here’s the full interior upgrade list. Each phase follows an order that avoids rework, detailing what changes by door count or model year at every step:
- Phase 1, Security: Tuffy Console Safe, install it before any items of value go in the Jeep
- Phase 2, Seat Covers: Bartact Mil-Spec, protects factory seat upholstery from daily wear, spills, and sun.
- Phase 3, Sound Deadening: Kilmat and HotHead Headliner, cut road noise and cabin heat before the cockpit and floor phases go in on top.
- Phase 4, Cockpit: Gear-Vise and Tackform for phone and accessory mounting, GPCA grab handles.
- Phase 5, Floor Mats: WeatherTech FloorLiners protect the carpet.
- Phase 6, Cargo: Blue Ridge or Mopar contain gear at speed.
Why This Order
Security’s first because theft risk only grows the longer the Jeep sits unsecured. Seat covers next because UV and wear damage to the factory seats starts accumulating from day one and can’t be undone.
Sound deadening goes third, before anything gets mounted or installed on top of it. Cockpit, floor mats, and cargo round out the build.
Be sure to confirm door count and model year at each phase (tracked below), as several of these products change depending on both.
Here’s a deep dive on how each phase earns its place in your Wrangler interior mods priority order, and how the six add up to a real Jeep JL cabin transformation.
Phase 1—Security: Tuffy Console Safe
Jeep Wrangler lockable storage isn’t standard equipment.
The Wrangler has real security gaps: no locking trunk, a visible cabin, and often a soft top that can be cut open. As the Jeep becomes a daily driver, the valuables carried in it grow, and the factory setup does little to protect them.
The Tuffy Console Safe installs into the factory center console using 16-gauge steel and Tuffy’s Pry-Guard locking system, no drilling required.
The Pry-Guard lock is a 10-tumbler double-bitted key with built-in weather seals, built from 1/8-inch welded steel. Integrated bump stops give a soft close, and the lid support bracket keeps it propped open while you’re reaching in.
Full use of the factory armrest, tray, and USB outlet is retained. The safe installs in a few minutes with hand tools.
Console depth varies by trim, confirm your console measures 8.5-inch or 6.3-inch deep before ordering, especially on Diesel and 4xe models. Confirm current model-year fitment directly with Tuffy before purchasing.
Tuffy vs. a Factory-Only Setup
The factory console lock offers little resistance to prying, as its latch can be easily bypassed with basic tools.
A Tuffy install replaces that plastic housing with an enclosed 16-gauge steel vault. While options from competitors like Console Vault exist, Tuffy is one of the longest-standing and most widely utilized options for this specific console.
Phase 2—Seat Covers: Bartact Mil-Spec
Jeep Wrangler cloth seats aren’t built for daily exposure. UV through the Freedom Panels starts degrading the fabric within the first summer, and stains and wear accumulate faster than most owners expect.
On a factory seat, that’s genuinely expensive to replace correctly.
The Bartact Tactical Series Seat Covers, a 1000D Cordura nylon cover with a waterproof laminated backing and mil-spec Bar Tack stitching in the webbing, is built for daily use and trail conditions alike. It’s a factory-look, form-fitting cover, not a universal slipcover.
The 2-door and JLU 4-door front pairs are separate SKUs, confirm the correct one for your door count. Bartact seat covers for the JL includes airbag-compatible construction. All covers since 2018 include airbag openings.
One real 2024+ nuance: manual-seat 2024+ trims can use the same covers as 2018–2023, but power-seat 2024+ trims need a separate, dedicated SKU.
Bartact vs. Generic Neoprene Covers
Generic neoprene seat covers cost less upfront, but don’t carry Bartact’s airbag-opening construction as a universal standard across every listing.
Bartact’s cost premium buys a documented, manufacturer-confirmed airbag-compatible design on every SKU, not a claim you have to verify seller by seller.
For a seat cover sitting directly over an active safety system, that documentation is worth more than the price gap.
Phase 3—Sound Deadening: Kilmat + HotHead Headliner
This phase covers five zones across three teardown sessions, confirmed in the site’s dedicated Sound Deadening Field Log: the floor pan, firewall, and wheel wells share one teardown, doors are a second session, and the headliner is a separate, zero-teardown overhead install.
Kilmat 80 mil is a butyl and foil sound deadening mat, sold in 36 sqft boxes. A full JLU floor-plus-door treatment needs roughly 50 to 60 sqft, two boxes.
The Hothead JL 4-Door Hard Top Headliner Kit installs directly overhead with zero teardown, commercial-grade adhesives, no drilling, under an hour to install, though the fiberglass surface should be cleaned with isopropyl alcohol first to ensure the adhesive holds.
It’s documented to cut highway noise by 3 to 6 dB and reduce radiant heat transfer by over 35°F.
Kilmat vs. Dynamat
Dynamat is the more recognized brand name in sound deadening, but Kilmat uses materially the same butyl-and-foil construction at roughly a third of the price. For a full JLU floor-plus-door build, that difference compounds across the two boxes a complete install requires.
Phase 4—Cockpit: Gear-Vise, Tackform, GPCA
The factory JL cockpit isn’t built for gear. No dash bar or accessory rail for mounting a phone or camera, and the factory grab handles aren’t always where or what you’d want for climbing in and out. Three separate products working as one system fix that.
The Rugged Ridge Gear-Vise Dash Bar is a 7/8-inch steel backbone spanning the full dash width, mounted to factory A-pillar locations, no drilling. The Tackform Enduro Series Bar Mount clamps directly to the Gear-Vise, or to any generic 7/8-inch bar. The GPCA GP Grip PRO is a 6061 aluminum grab handle rated to a 250 lb static load, tool-free strap installation around the roll bar, sold as a 2-pack or 4-pack.
This exact combination is a 2018–2023 JL solution. Buy the Gear-Vise foundation before any individual phone mount, buying the mount first often means replacing it once the bar goes in.
These Three Products vs. Buying Piece by Piece
Buying these three after security and seat covers avoids a real rework trap: a phone mount or dash accessory purchased before the Gear-Vise foundation often gets replaced once the bar goes in, since most mounts aren’t compatible with both a bare dash and the bar simultaneously. Buying the foundation first means everything after clips onto it once, not twice.
Phase 5—Floor Mats: WeatherTech FloorLiner JL
A factory JL has carpet in the footwells, not real protection. Mud, sand, spilled coffee, and daily wear go straight into it from day one.
The WeatherTech FloorLiner is laser-measured to cover the bottom, front, back, and sides of the footwell, not just the flat floor. It’s molded from a proprietary TPE blend, rigid enough to hold its shape but flexible enough to seat into the footwell, with no latex, PVC, cadmium, or lead.
The raised lip is what actually contains spills and runoff, a flat mat just gets wet underneath. Installation uses the factory floor mat hooks, no tools, but the factory carpet mats must come out first. Layering the liner on top of them isn’t a fit or safety option. It’s backed by a lifetime warranty and sold only in pairs or full sets, not individually.
WeatherTech sells the front and rear liners separately in some configurations, and the 2-door and JLU sets are different parts.
WeatherTech vs. Mopar All Weather Floor Mats
Mopar’s All Weather Floor Mats use a tire-tread pattern and a relocatable drain plug, you remove the Jeep’s factory floor drain plug and install it into the mat itself, letting you hose out the floorboards directly. This is a genuine functional advantage WeatherTech’s design doesn’t offer, at a lower price point.
WeatherTech’s raised-lip design generally provides more complete edge coverage. Choose WeatherTech for coverage precision, choose Mopar if drain-plug hose-out and budget matter more.
Phase 6—Cargo: Blue Ridge JLU Attic or Mopar Cargo Net
The JL doesn’t ship with much to secure loose cargo. At highway speed, unsecured items can become a projectile risk.
The Blue Ridge Overland Gear JLU Attic is an overhead net that mounts to the roll bar using existing trim screws, no drilling. It’s mil-spec mesh with 1-inch mil-spec webbing, cinched with 550 paracord and an ITW barrel lock to adjust height and keep it clear of passengers’ heads, built for lightweight items like jackets, blankets, or soft bags you want out of the way. It’s removable without permanent modification, since it uses factory mounting points rather than new hardware.
The Mopar Cargo Net is a bungee-and-webbing net that attaches at each corner with plastic hooks to the factory tie-downs or TrailRail sliders, holding cargo flat against the load floor instead of suspending it overhead.
These aren’t interchangeable, they contain cargo two different ways, and they don’t cover the same door count.
Blue Ridge vs. Mopar
Blue Ridge suspends gear from the roll bar, the right choice for lightweight items you want out of the way.
Mopar holds cargo flat against the floor where it already sits, and covers both door counts as separate SKUs. Choose Blue Ridge for overhead storage on a JLU, choose Mopar if you’d rather keep things pinned down at floor level, or if you’re on a 2-door.
Fitment at a Glance
Before pricing it out, confirm your Jeep matches every phase, four of the six products change by door count, trim, or model year.
| Category | Product | 2-Door / JLU | 2018–2023 / 2024+ |
|---|---|---|---|
| Security | Tuffy Console Safe | Fits both, brackets for 8.5" and 6.3" consoles | Confirm current model-year fitment with Tuffy |
| Seat Covers | Bartact Mil-Spec | Fits both, same price (~$470), separate door-count SKUs | Separate SKU for power-seat 2024+ trims only, manual-seat 2024+ uses 2018–2023 covers. Also separate SKU for Mojave/392 |
| Sound Deadening | Kilmat + HotHead Headliner | Kilmat sold by coverage area, not door count. HotHead is a separate SKU per door count, confirm yours before ordering | Fits both eras |
| Cockpit | Gear-Vise + Tackform + GPCA | Fits both door counts | 2018–2023 only, 2024+ substitutes Vector Offroad EDock and GPCA GP Grip Air |
| Floor Mats | WeatherTech FloorLiner JL | Separate kits, confirm your door count | Same kit either era |
| Cargo | Blue Ridge JLU Attic | JLU only, does not fit the 2-door | Fits both eras |
| Cargo | Mopar Cargo Net | Fits both (two separate SKUs) | Fits both eras |
Jeep Wrangler Interior Upgrades: The Full $2,000 Blueprint
Every phase, priced out in build order:
| Phase | Product | Approx. Price | Notes |
|---|---|---|---|
| 1—Security | Tuffy Console Safe | from ~$230 | First install, before anything of value goes in. |
| 2—Seat Covers | Bartact Mil-Spec (JL 2-door front pair) | from ~$470 | Confirmed directly at bartact.com: both 2-door and JLU front pairs are $470 in base colors, no price difference by door count. Mojave/392 and power-seat 2024+ trims need separate SKUs, manual-seat 2024+ uses the 2018–2023 covers. |
| 3—Sound Deadening | Kilmat 80 mil + HotHead Headliner | from ~$420 (2-door) / ~$560 (JLU) | Floor, firewall, wheel wells, doors, hardtop headliner. HotHead is a separate SKU by door count, confirmed directly at hotheadheadliners.com. Kilmat needs one 36 sqft box for a 2-door, two boxes for a JLU, confirmed at kilmatproducts.com and FL #004. Confirm your door count before ordering either product. |
| 4—Cockpit | Gear-Vise + Tackform + GPCA GP Grip PRO | from ~$360 | Full no-drill cockpit foundation, 2018–2023 only. |
| 5—Floor Mats | WeatherTech FloorLiner JL (2-door full set) | from ~$220 | Front and rear. |
| 6—Cargo | Blue Ridge JLU Attic (JLU) or Mopar Cargo Net (2-door) | from ~$100 / from ~$50 | Blue Ridge does not fit the 2-door JL. |
| Total | ~$1,750 (2-door) / ~$1,940 (JLU) | Range reflects real door-count pricing differences, mainly Phase 3 (sound deadening) and Phase 6 (cargo). Both configurations land under the $2,000 ceiling, though JLU leaves less headroom. |
Jeep JL Interior Build, by Use Case
Not every phase looks the same on every Jeep. Door count, model year, and roof all change what fits. Here’s how the full build shifts by configuration:
2-Door JL
All six phases apply, with one real substitution: the Mopar Cargo Net instead of the Blue Ridge JLU Attic, which is JLU-only. WeatherTech, Bartact, and the HotHead Headliner all default to their 2-door SKUs in this build already, just confirm you’re ordering the 2-door part number for each, not the JLU version.
4-Door JLU
All six phases apply. Four change for JLU: Blue Ridge’s Attic is JLU-only (that’s the cargo pick here), Bartact needs the JLU-specific SKU, WeatherTech needs its own JLU kit, and HotHead’s JLU headliner is a different SKU too.
2024+ JL
Only Phase 4 changes for 2024+: the Vector Offroad EDock replaces Gear-Vise and Tackform, and the GPCA GP Grip Air replaces the GP Grip PRO. Every other phase applies as listed. Confirm every Phase 4 component is the 2024+ version before ordering.
Frequently Asked Questions
What’s the best Jeep interior setup under $2000?
A complete Jeep JL interior build under $2,000 covers six phases: security, seat covers, sound deadening, cockpit, floor mats, and cargo. That’ll run $1,750 to $1,940 depending on door count and product choices. The 2-door build leaves meaningful room under the ceiling; a JLU build leaves almost none.
What are the best Jeep Wrangler interior accessories for a complete build?
A six-phase build covering security, seat covers, sound deadening, a no-drill cockpit foundation, floor protection, and cargo containment. Each phase solves a different daily-use problem, and the sequencing matters. Security and seat covers go first because both protect against damage or loss that accumulates the longer the Jeep sits unaddressed, not because later phases depend on them physically.
Do I need to do all six phases in order?
Not strictly, but the order avoids rework. Buying cockpit accessories before the Gear-Vise foundation is the clearest example, as most mounts get replaced once the bar goes in. Security has no dependency and can go in anytime.
Does this build change for a 2024+ Jeep Wrangler JL?
Mainly in one phase. The Phase 4 cockpit products aren’t the same for 2024+, as the Vector Offroad EDock and GPCA GP Grip Air replace the Gear-Vise, Tackform, and GP Grip PRO. One smaller exception: Phase 2’s Bartact seat covers need a separate SKU for power-seat 2024+ trims specifically, manual-seat 2024+ owners use the same covers as 2018–2023.
What’s different between the 2-door and JLU version of this build?
Four phases change by door count. Bartact’s seat covers are sold as separate SKUs for JL 2-door and JLU front pairs, though the price is the same. The WeatherTech FloorLiner is also a separate set per door count. HotHead’s headliner is a separate SKU per door count too, and costs more for the JLU kit. Phase 6’s cargo option changes entirely, the Blue Ridge JLU Attic only fits the JLU, 2-door owners need the Mopar Cargo Net instead.
Is this the same as the $900 Fast Start?
No, this is the next tier up. The $900 Fast Start covers five essentials focused on what you’ll notice first: floor protection, security, grab handles, a cockpit foundation, and cargo. This build adds seat covers and full sound deadening on top of that. If you want purely budget-friendly Jeep Wrangler upgrades and nothing more, the $900 Fast Start is the better starting point, this Blueprint is the next step once your budget allows.
Confirm your door count, trim, and model year at every phase where it’s flagged, that’s where most of the wasted money in a Jeep Wrangler JL custom interior build actually happens. Sequenced right, this is a complete Jeep JL interior outfitting, not just a pile of parts.
Curious what else is confirmed for the JL platform beyond these six phases? You’ll find sound and audio brands, seat cover manufacturers, and eight other Wrangler accessories interior categories on the Wrangler Specs Parts Directory.
Sound deadening especially is a considerable install project, not a bolt-on afternoon. If you’d rather have a shop handle any phase of this build, you’ll find Jeep JL install shops by region on the Wrangler Specs Builder Directory.